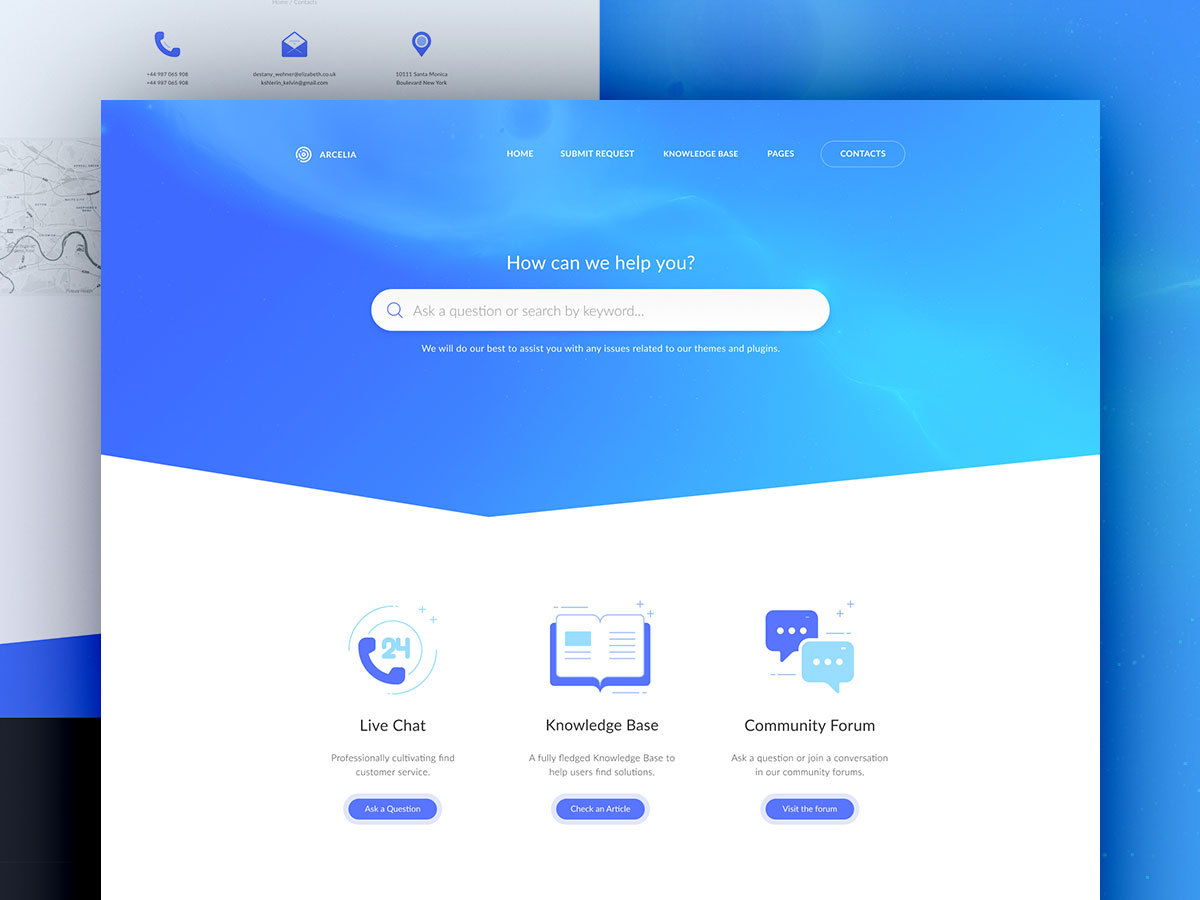
Arcelia WP
it's Knowledge Base / Help desk WordPress Theme
- Created: 2021
- Latest update: 2021
- Author: themeforest.net/user/le-genda
Thank you for your purchase and welcome to the Arcelia User Guide! This Guide covers all the information needed to use the Arcelia theme to build an excellent website, as well as some tips and tricks that will make your experience working with the Arcelia theme easier and more enjoyable.
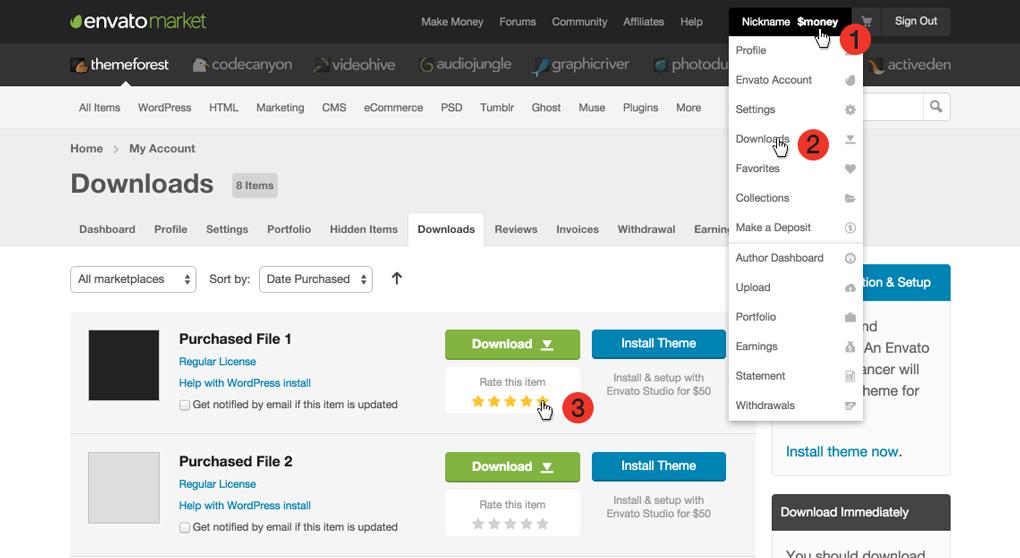
If you have any questions that you feel should have been in this document, please log in using the account used to purchase the file, go to product page and and contact the author in the Support tab. Thanks!
At the end of the User Guide, you will find a collection of frequently asked questions related to setting up, using the theme and troubleshooting the theme.
Version 1.0.0
Installing the Theme
To install this theme you must have a working version of WordPress already installed. For information in regard to installing the WordPress platform, please see the WordPress Codex - https://wordpress.org/support/article/how-to-install-wordpress/
After you have installed Wordpress, you have to install our Theme (arcelia.zip). There are two ways of installing the Theme on your Wordpress:
- Installing the Theme via Admin Panel
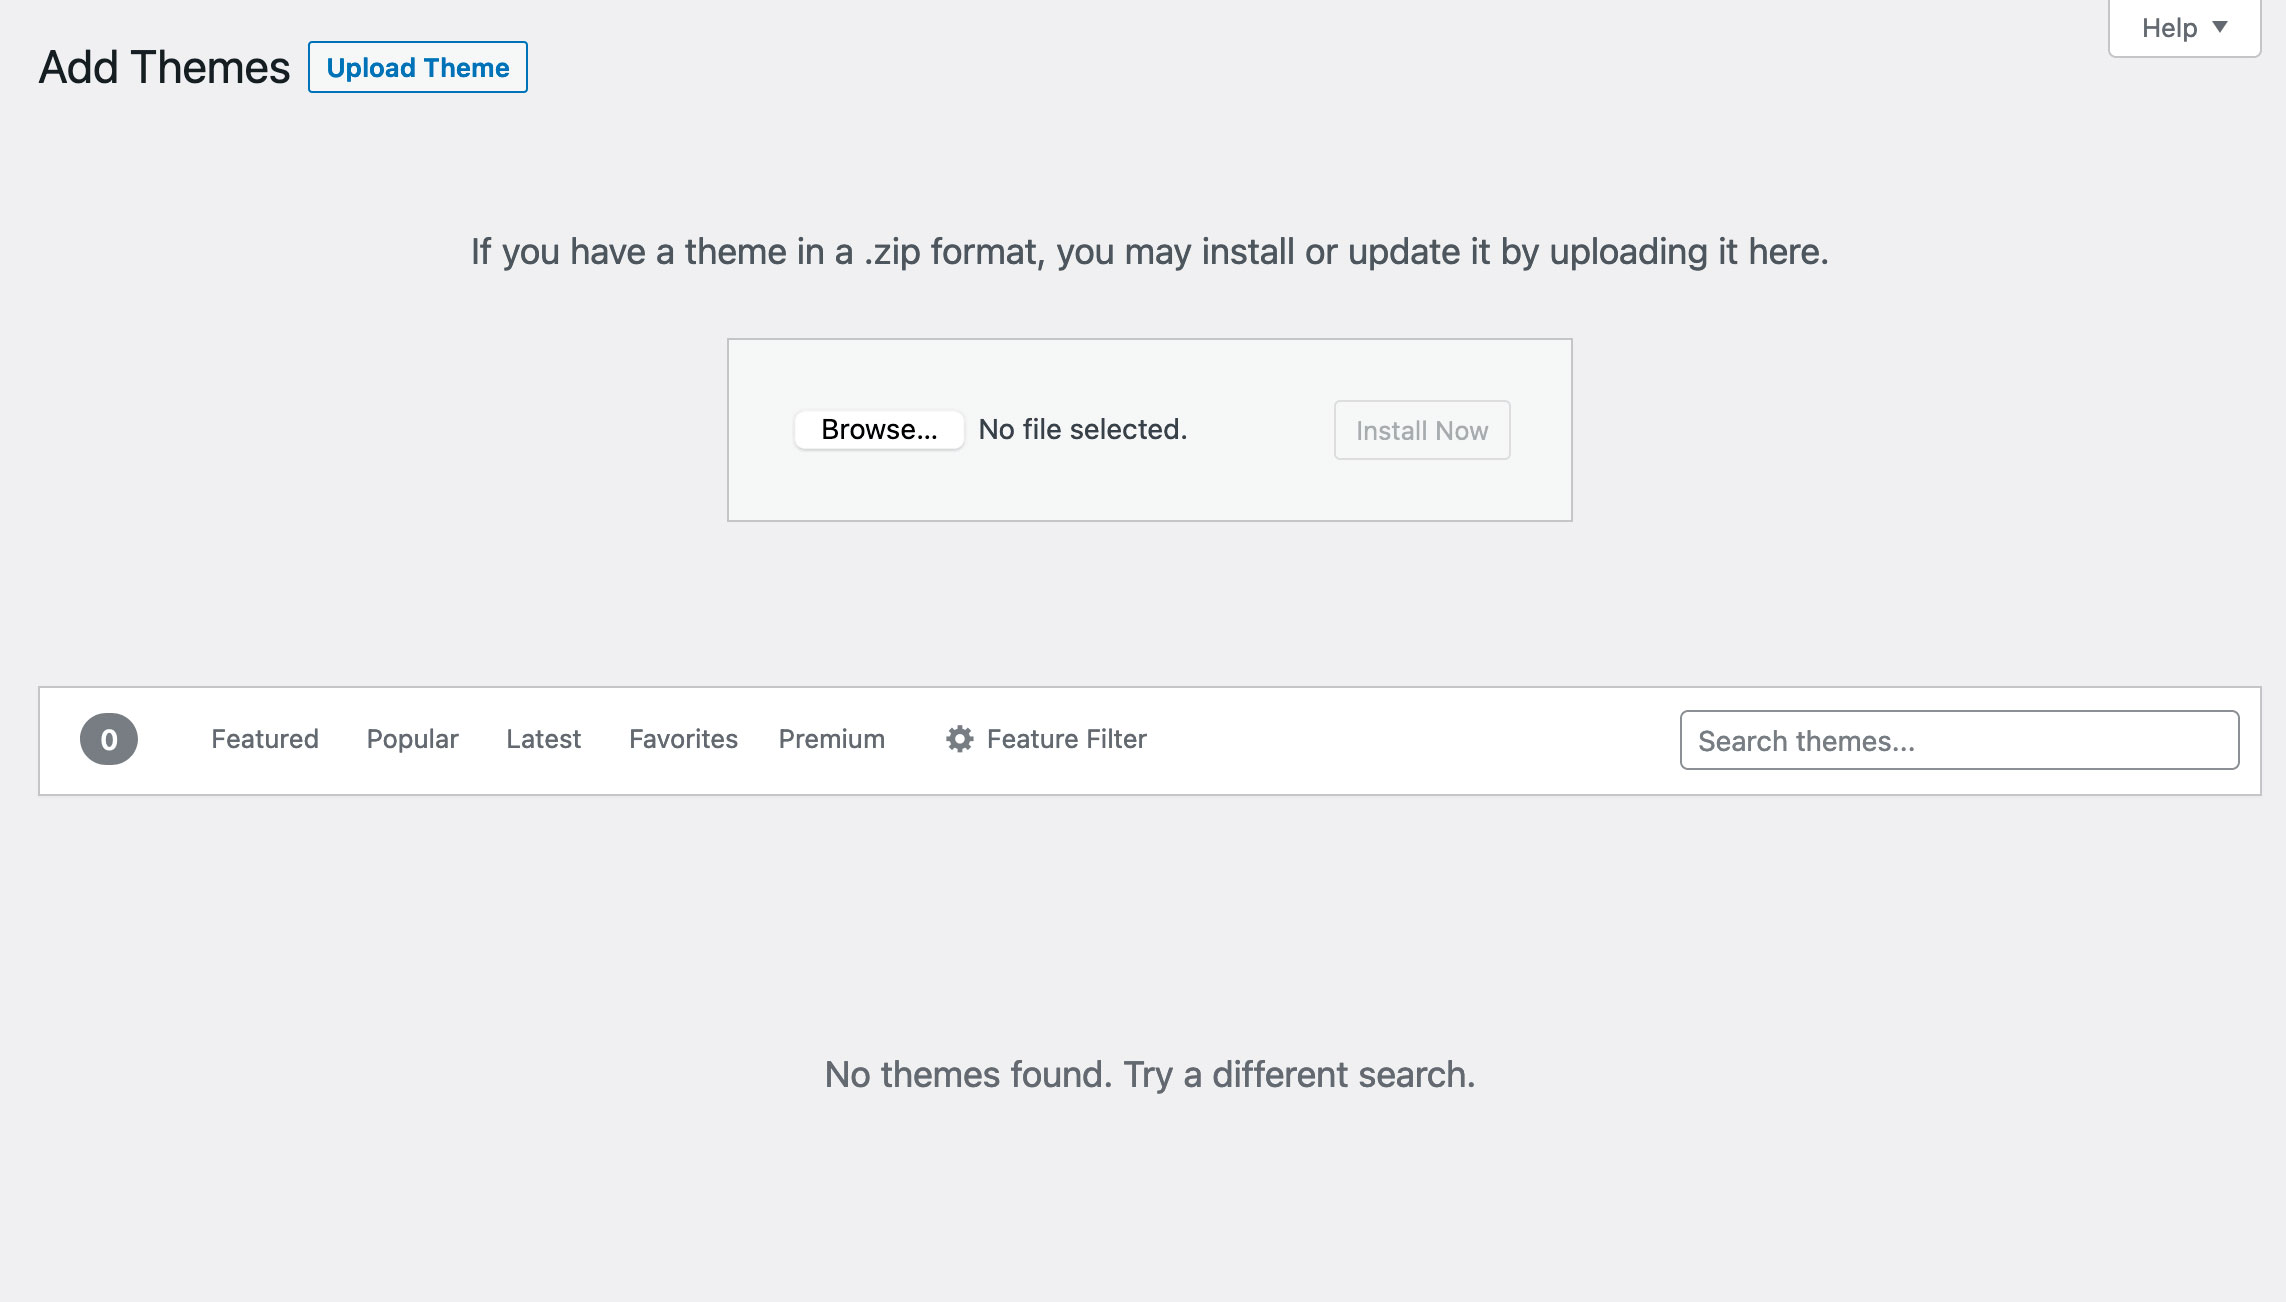
Wordpress Dashboard: Navigate to Appearance > Themes > Add New > Upload Theme. Select the downloaded zipped theme folder. Click on “Install Now” and the theme will be uploaded and installed.
Once the theme is uploaded, you need to activate it. Go to Appearance > Themes and activate Arcelia Wordpress Theme.
- Installing the Theme via FTP
Log in to your website's FTP through a FTP Client (like FileZilla) and navigate to WordPress installation directory. Unzip the “arcelia.zip” file on your computer and upload the contents into the /wp-content/themes folder on your server. When upload is complete, go to Appearance > Themes in your WordPress admin panel. Hit Activate to activate the installed theme.
Once the theme is uploaded, you need to activate it. Go to Appearance > Themes and activate Arcelia Wordpress Theme.
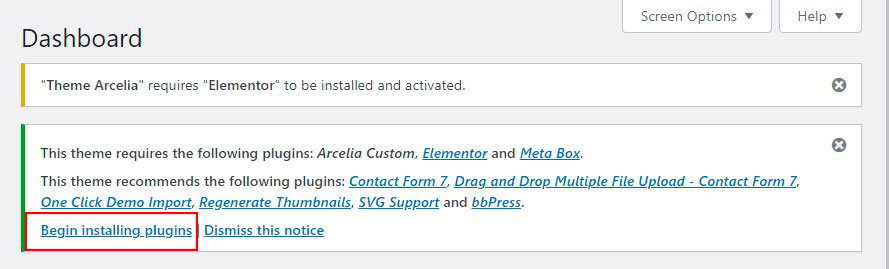
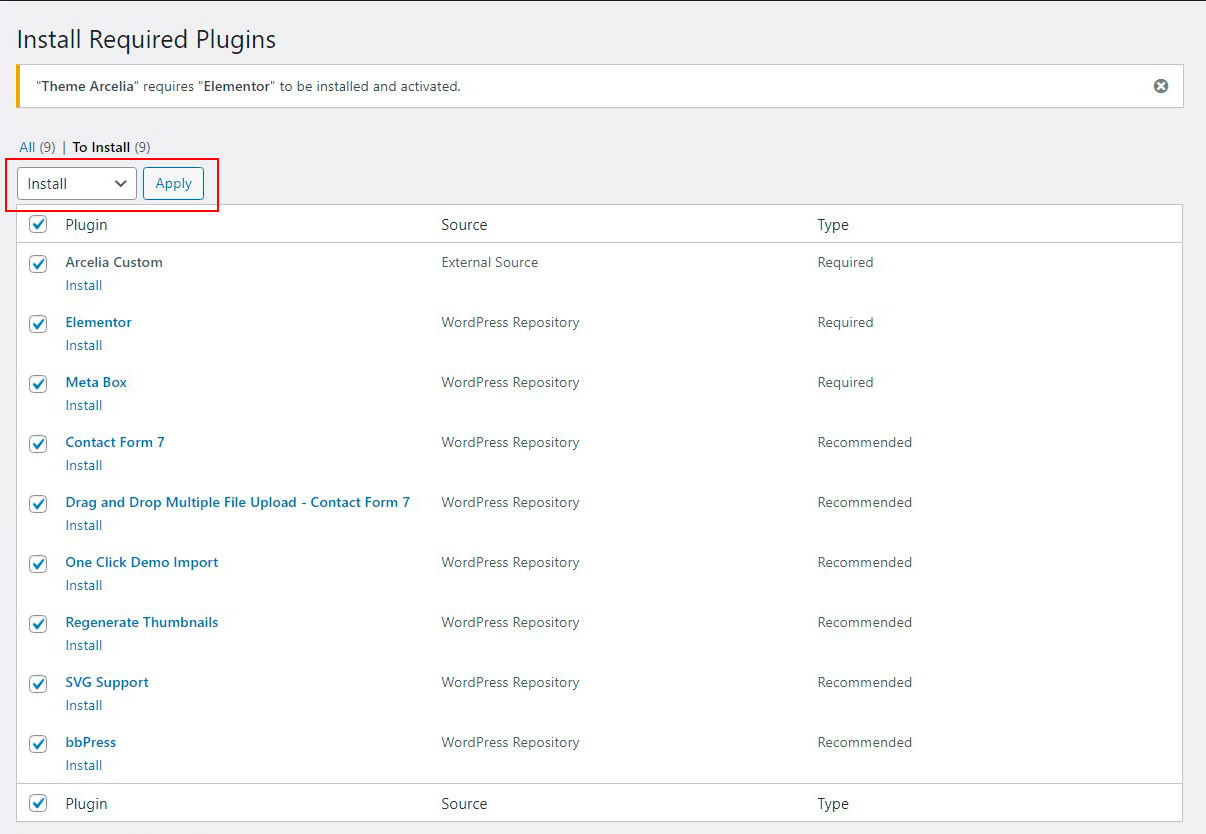
Install & Activate Plugins
After successful activation of theme, make sure to install and activate all the plugins bundled with Arcelia theme.
Demo Content - Theme looking like live preview
NOTE: First please check that you are using PHP version 7.0 or greater.
You can increase the PHP limits by your own or contact your web host and ask them to do it. Recommended values:
- max_execution_time=300
- max_input_time=300
- memory_limit=256M
- post_max_size=512M
- upload_max_filesize=256M
Edit your wp-config.php file
Add this to the top, before the line that says, “Happy Blogging”:
define('WP_MEMORY_LIMIT', '256M');
To make your WordPress look like our live demo please, follow the instructions bellow.
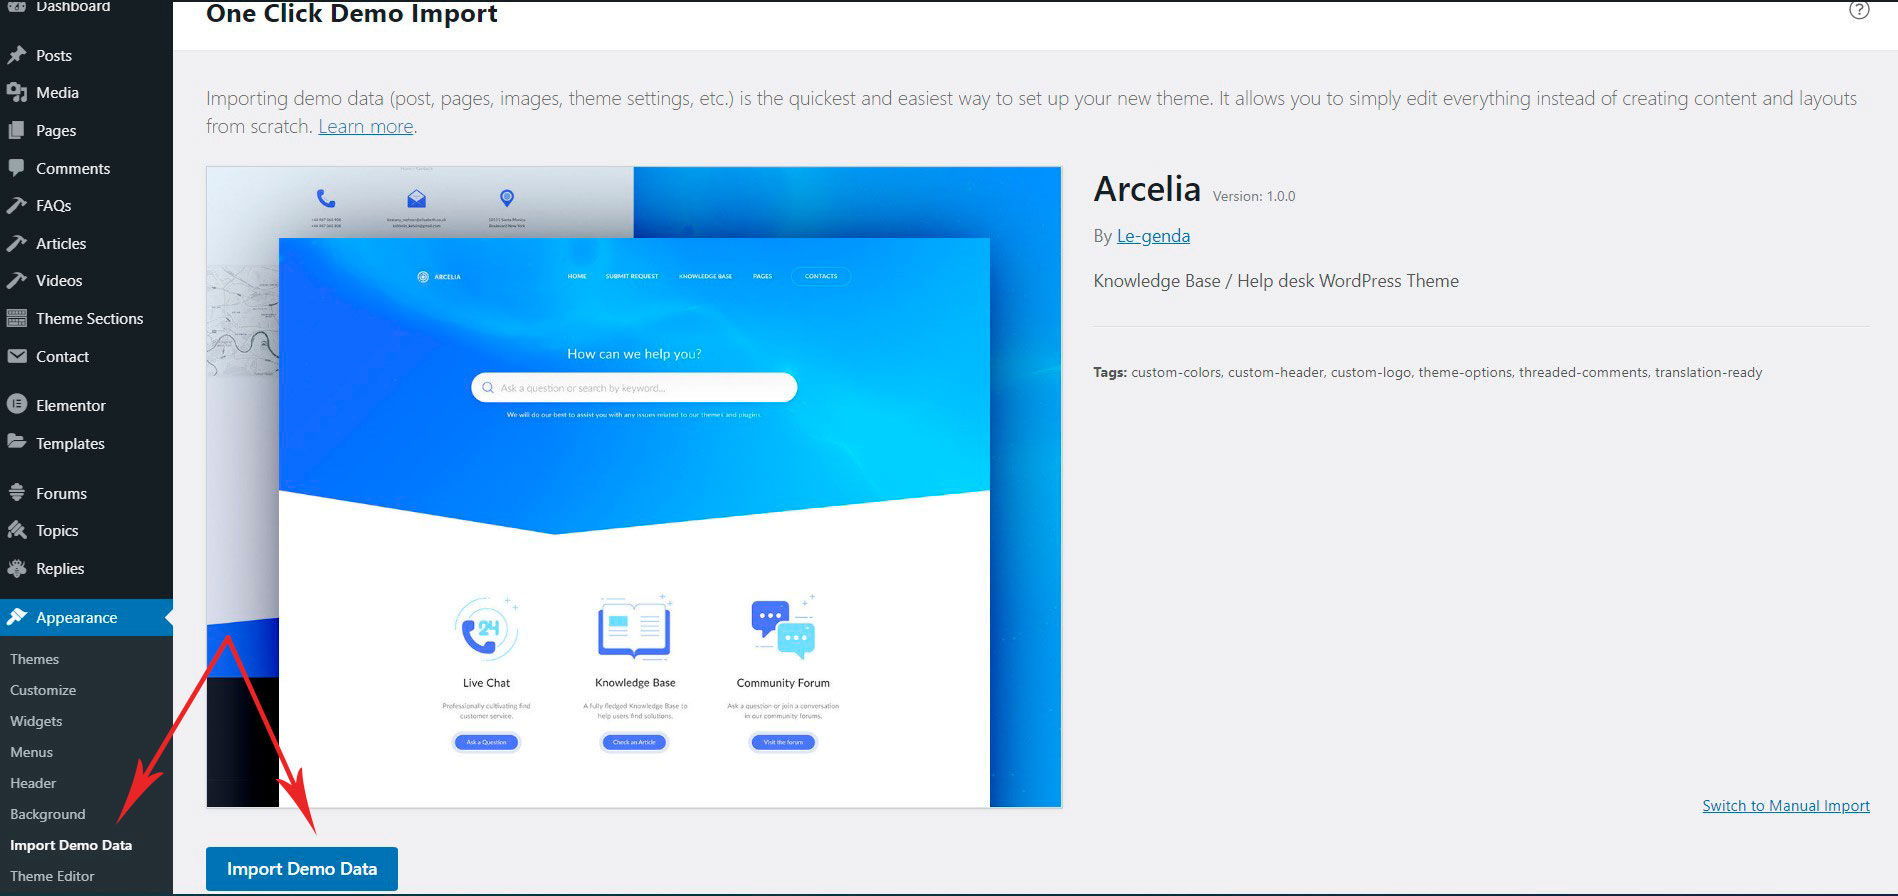
One Click Import - Recommended Demo Import Method
Go into APPEARANCE > IMPORT DEMO DATA and click on the Import Demo Data button.
INFO: This metod recommended if not work One click Method
Additionally required:
- - Specify the menu
- - Specify the home page and blog
- - Specify the widgets
- - Specify footer ( Theme sections )
Default import
- The Demo Content from three the sites locate in folder /democontent/wp-import/
- Go to TOOLS > IMPORT. And click 'Wordpress' link in there.
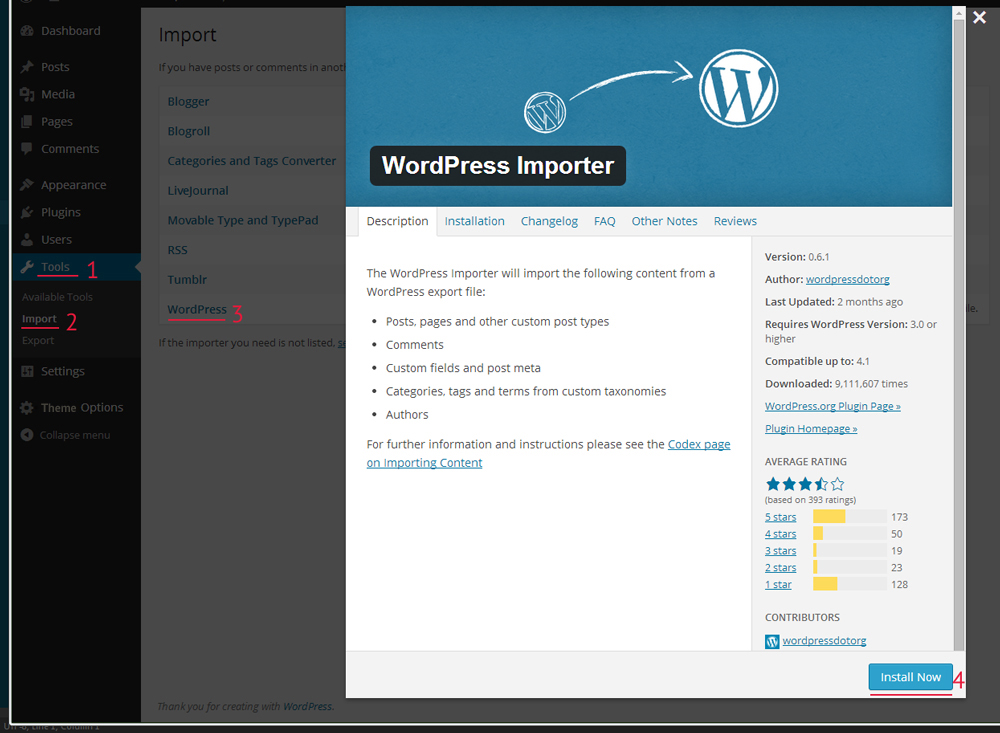
- Wordpress will install the importer. When the install is finished, please click Activate Plugin & Run Importer.
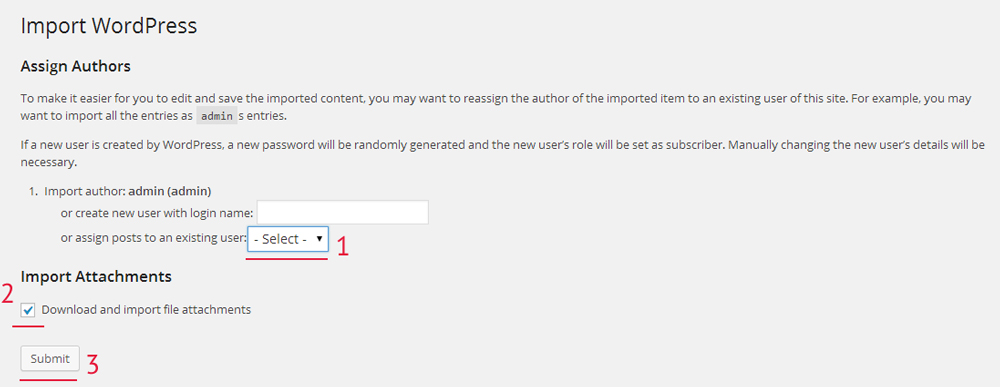
- You will get a form like the picture below. Now pick the content.xml file from your Theme Package ( in /democontent/wp-import/) and click Upload file and import
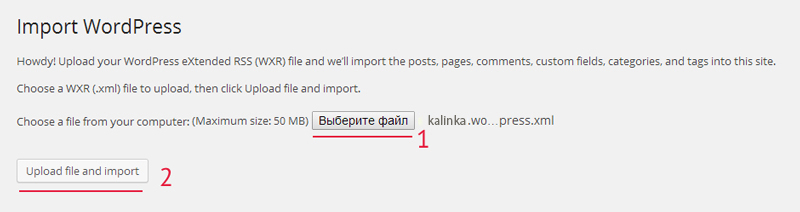
- When the upload is finish, choose the author for all of the contents that you import and click Submit button.
- For import customizer settings you can use plugin Customizer Export/Import.
- After install this plugin go to APPEARANCE > CUSTOMIZE > EXPORT/IMPORT, pick the customizer.dat file from your Theme Package ( in /democontent/wp-import/) and click Import
- Go to APPEARANCE > WIDGETS, select desired widgets and drag it to the desired Widget Area
Initial Website Setup
Permalinks Settings
In this template the Permalinks are used, the standard paths of http://demolink.org/?p=1 are replaced with http://demolink.org/home. This way of links configuration can be used by not only our blog followers but will help in SEO-optimisation as well. The effectiveness and main features of this link configuration method are revealed here - https://wordpress.org/support/article/using-permalinks/
Please follow the steps below:
- Log in to your WordPress Administration Panel (Dashboard).
- Click the Settings
- That done, click Permalinks
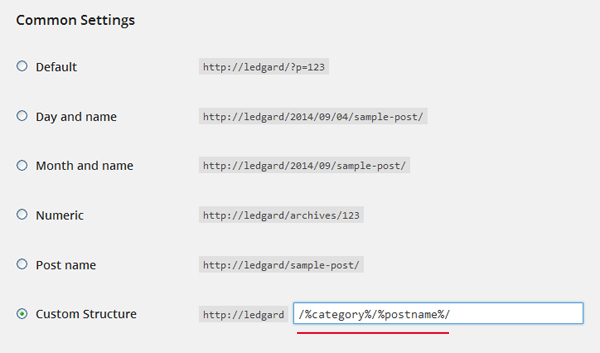
- In permalinks settings please select Custom structure, after that copy and past the following settings /%category%/%postname%/
- With that done, click the Save changes button.
If you install the theme via import the demo content the settings will be configured automatically. However even in this case you still need to save the current settings by clicking Save changes.
Pages Setup
If you have already imported the demo data by Default Method, you need to select the required home page. Now you should see the blog instead of the home page. If you have already imported the demo data, you need to select the required home page.
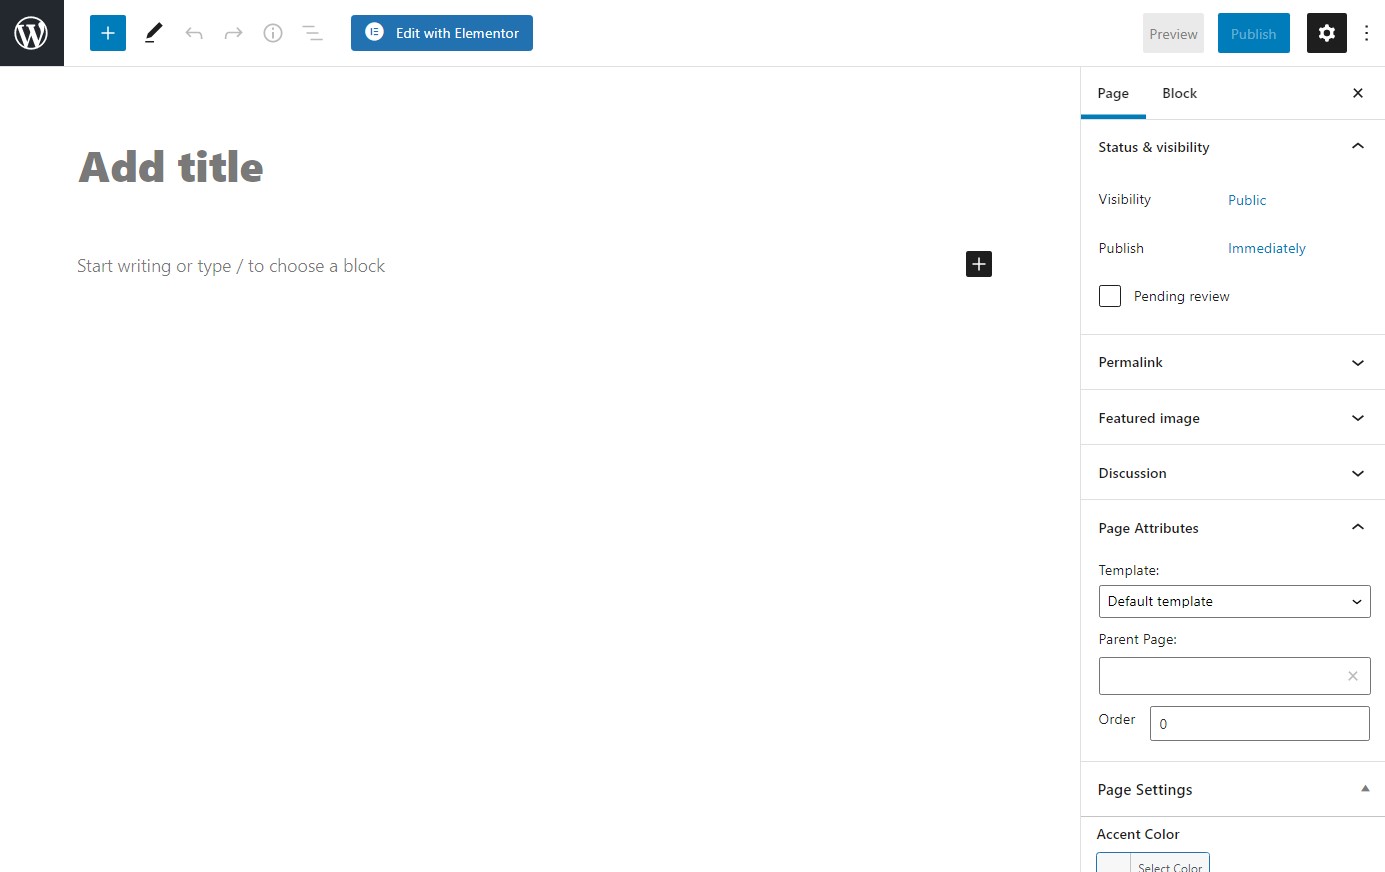
If you do not want to import the demo data, you need to create a home page. To do this, go to the PAGES > ADD NEW name the page (for example Home) as you need and choose the right template, set the template options and save page.
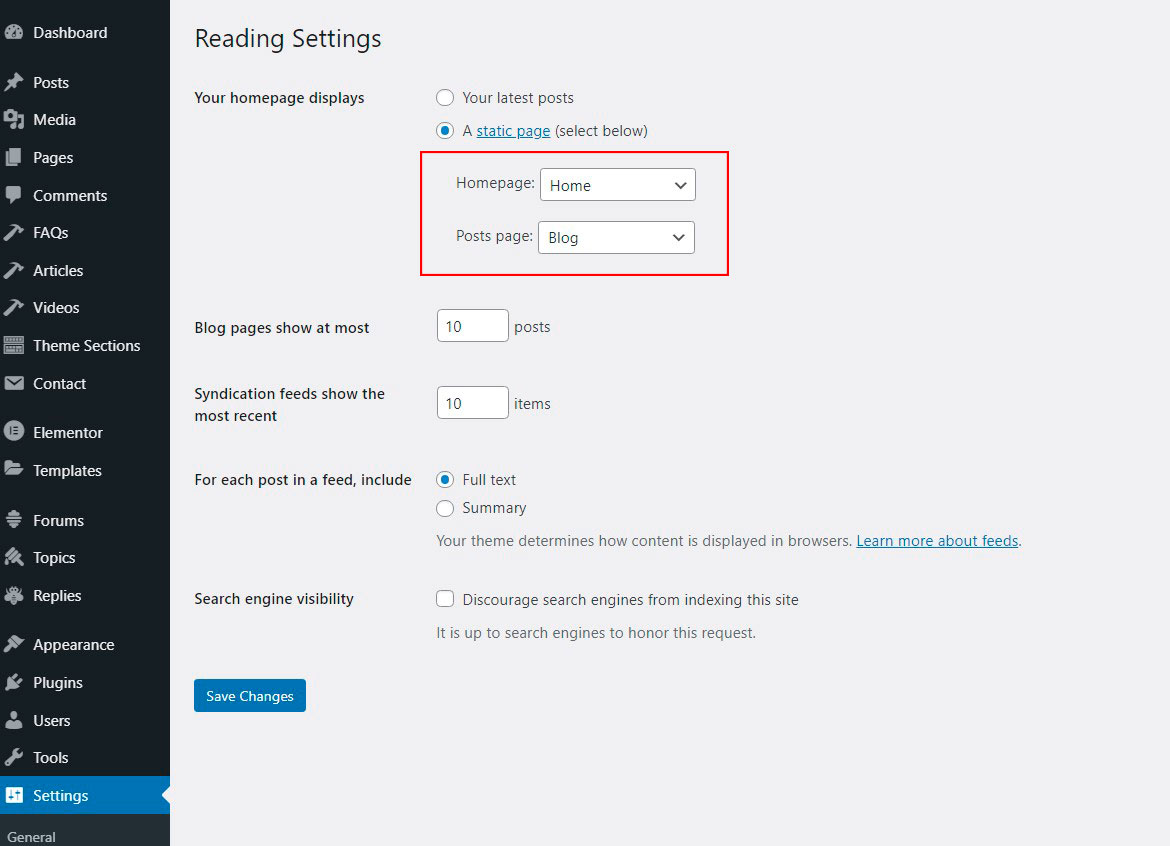
Please go to SETTINGS > READING and select one of pages
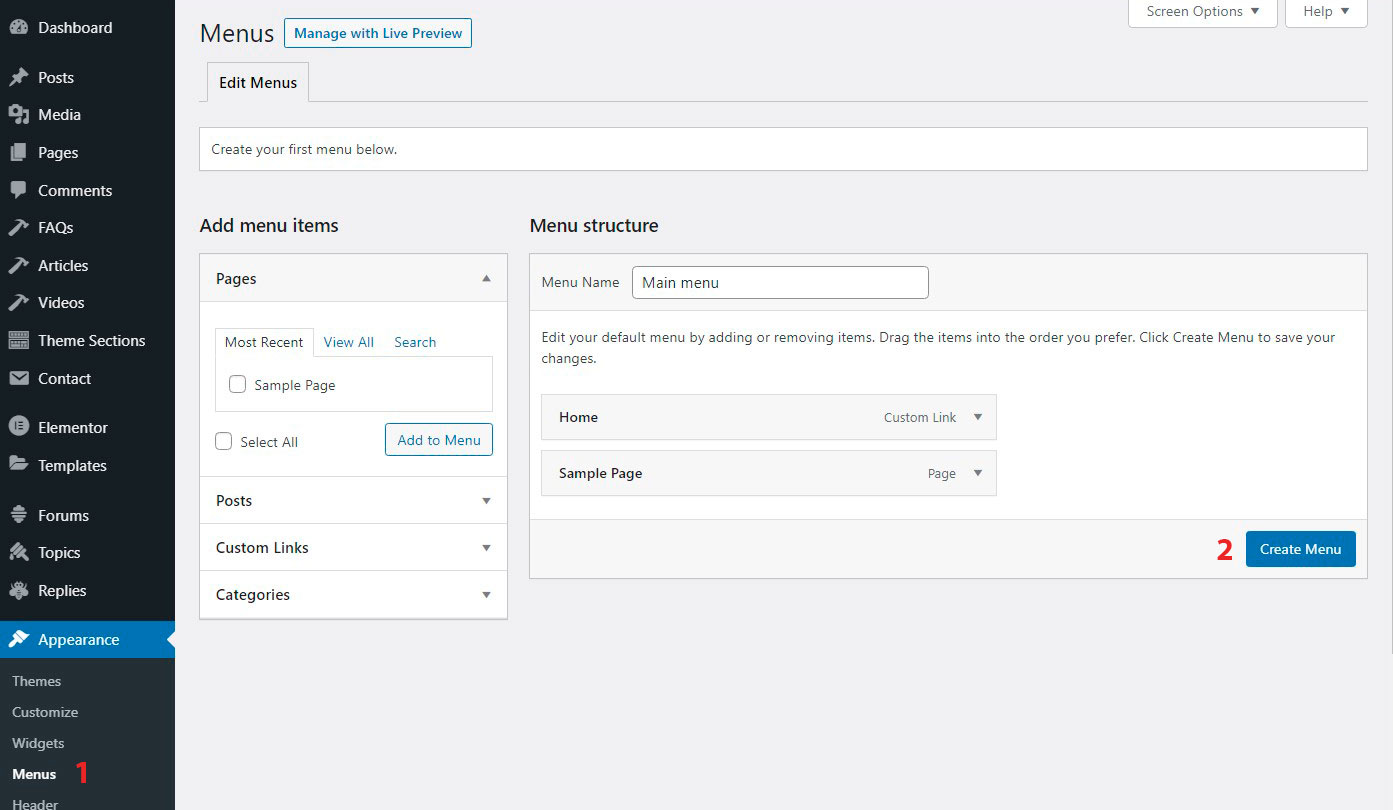
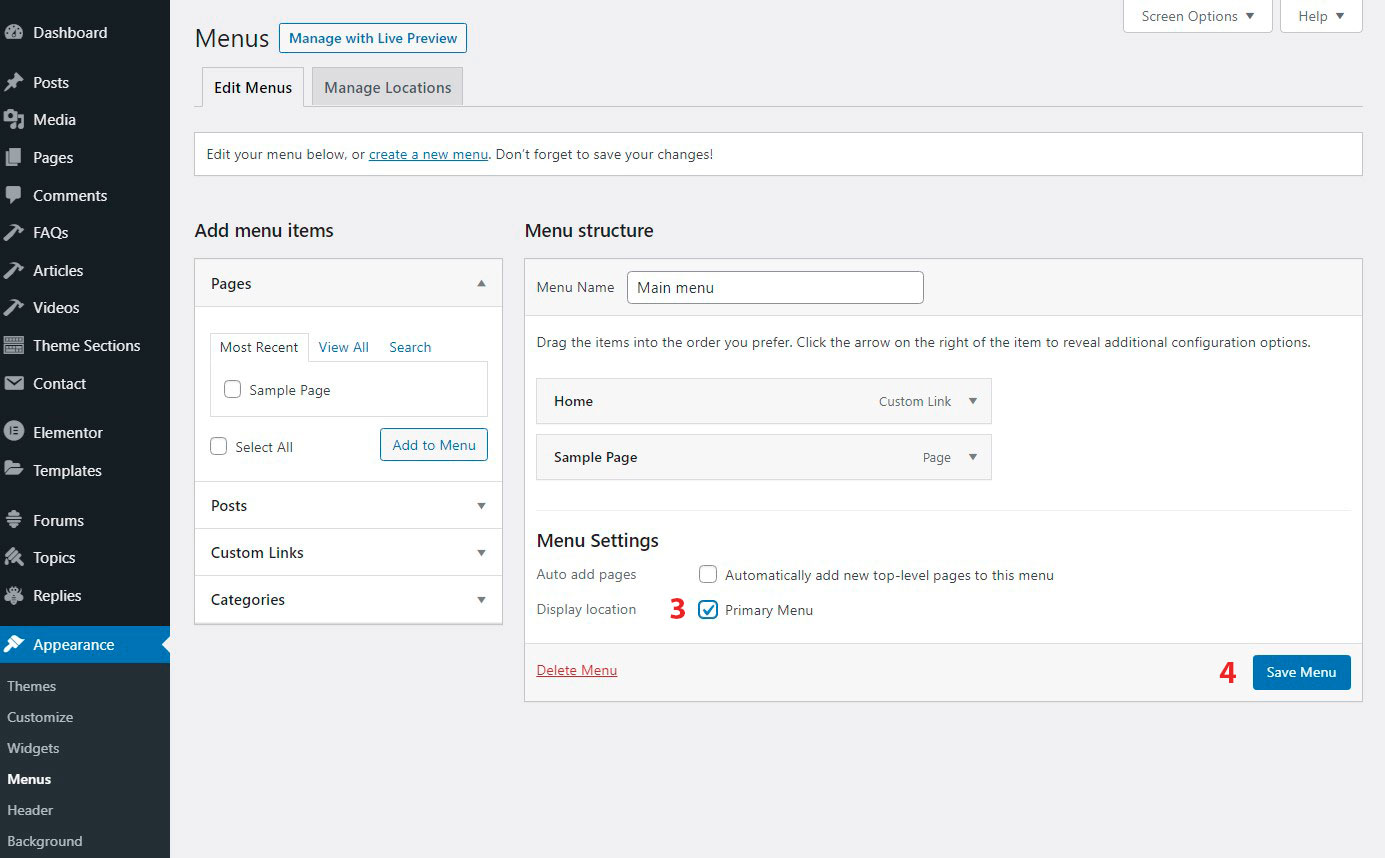
Menu Setup
The theme has one main custom menu, it is necessary to configure.
We will setup the menu now. Please go to APPEARANCE > MENUS and set the Theme Location to be Main Menu then click Save button
For more info on how to setup your menu, see https://wordpress.org/support/article/appearance-menus-screen/
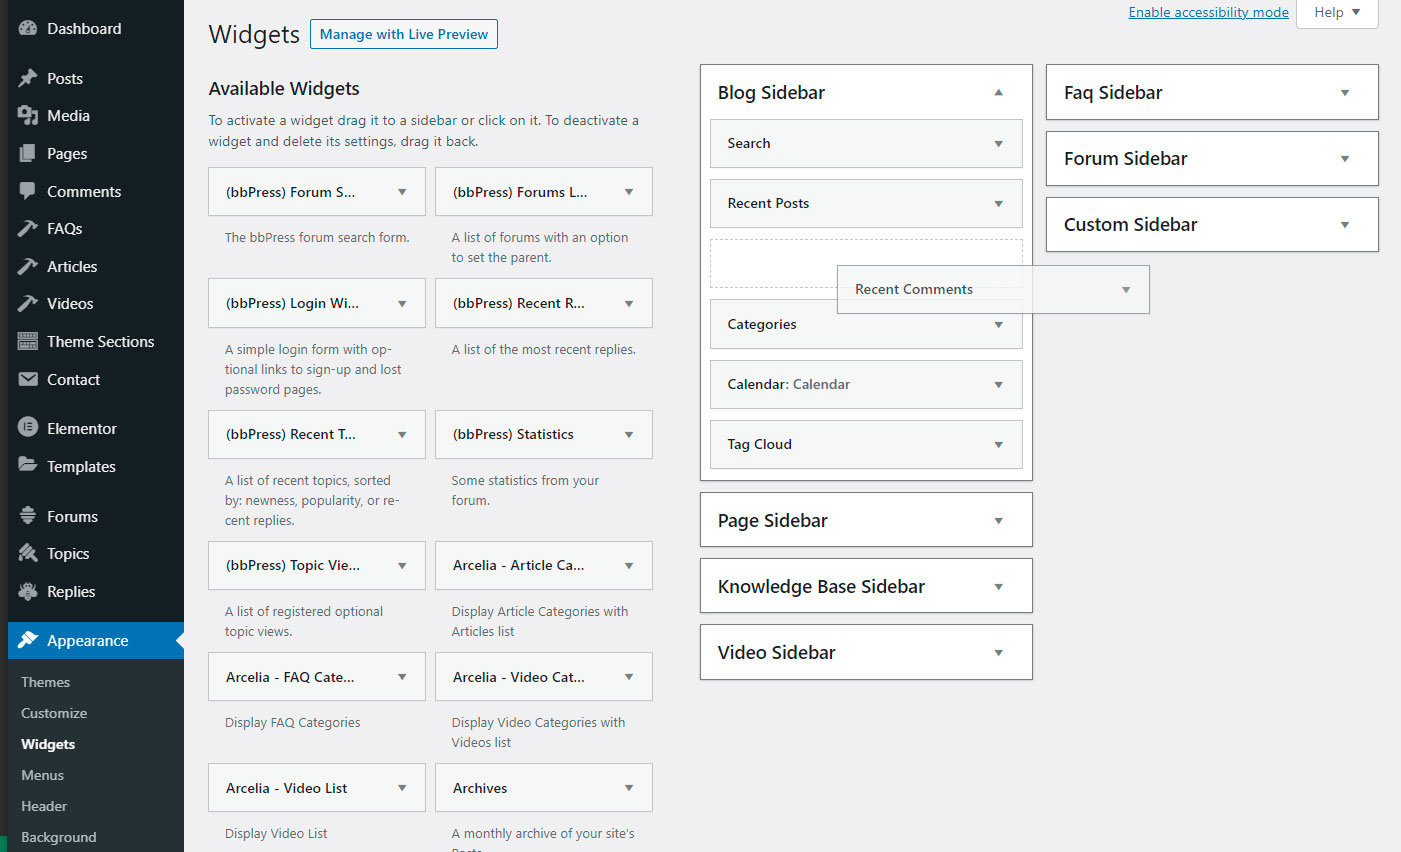
Widgets Setup
Go to Appearance > Widgets.
There you can find 7 default sidebars: for blog, pages, articles, videos, faqs, forums and custom area.
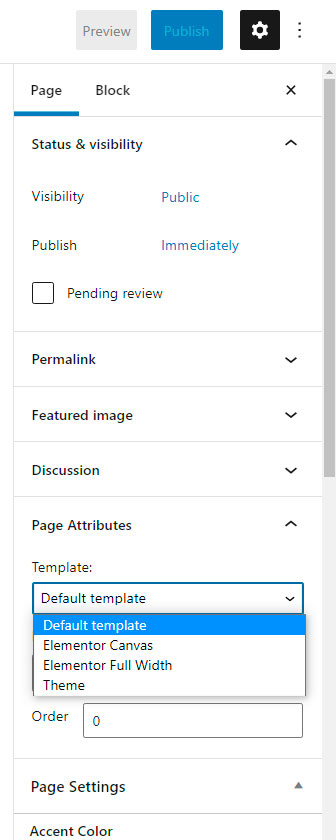
Page Templates
This theme features different page templates, so you can better showcase your content. Page templates are, as follows:
- Default
- Elementor Canvas
- Elementor Full Widht
Default Template
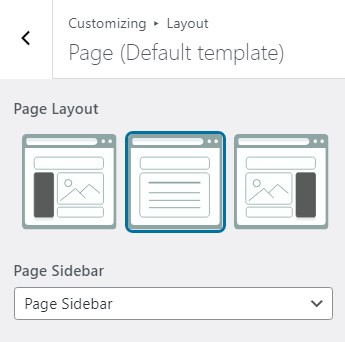
You can add custom sidebar to each page. Also Default Template contain Heading block( title and breadcrumbs ), if Header Content is equal to "Search".
Elementor Canvas Template
It's a template of Elementor plugin. The Canvas Page Template removes your Header and Footer and Sidebars.
Elementor Full Widht Template
It's a template of Elementor plugin. The full width page template allows you to override the default page width and use a full width design on any theme.
Theme Customize
The given theme contains the Settings option. These settings allow for easy and quick change logo of the site, favicon, text or background color etc. In order to use these settings please go to Appereance > Customize
.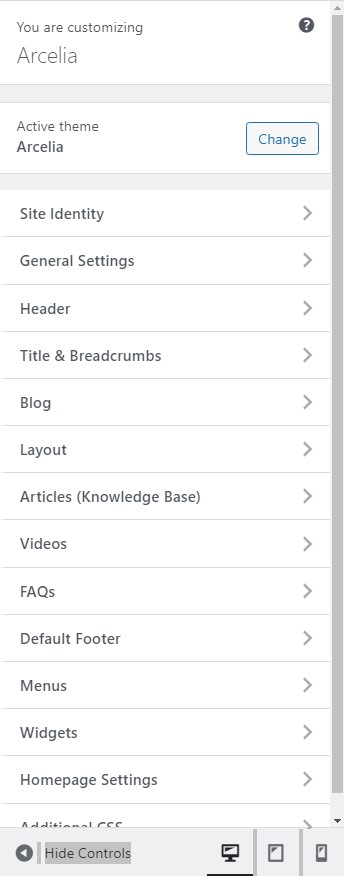
General Settings
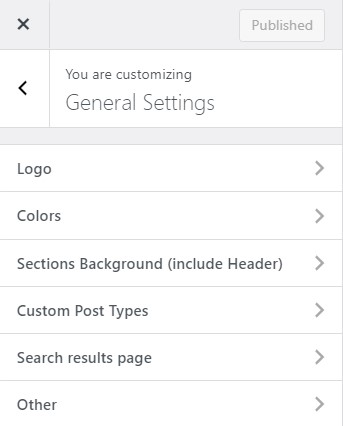
- Logo - Here you can сhange your site logo and logo widht
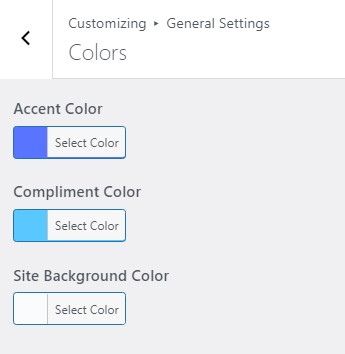
- Colors - Here you can сhange your site global colors
- Sections Background (Include Header) - Here you can сhange header background color, image etc.
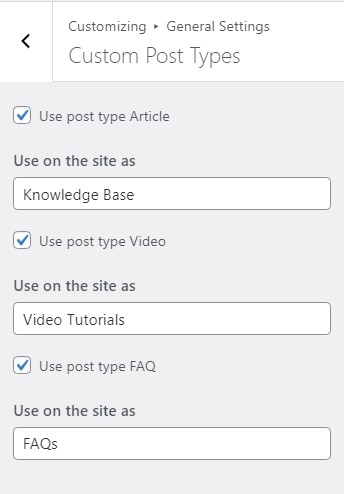
- Custom Post Types - Here you can choose to use custom post types on the site or not. And change label posts.
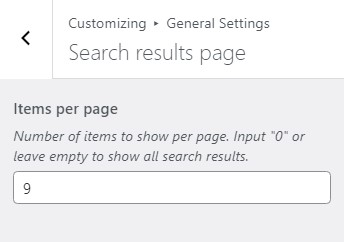
- Search Results Page - Here you can change number of items to show per page for search results page.
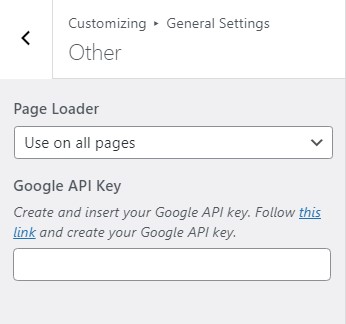
- Other
- Preloader - site preloader settings
- Google API Key - insert your google api key
![]()
Also you can add unique logo for each page in page settings
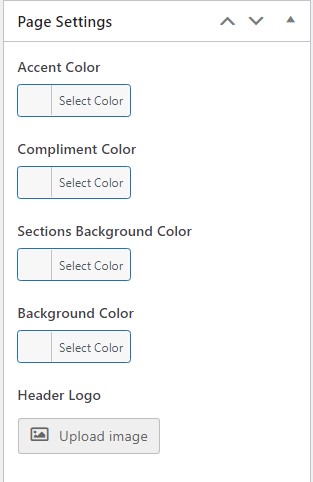
Also you can change colors for each page in page settings
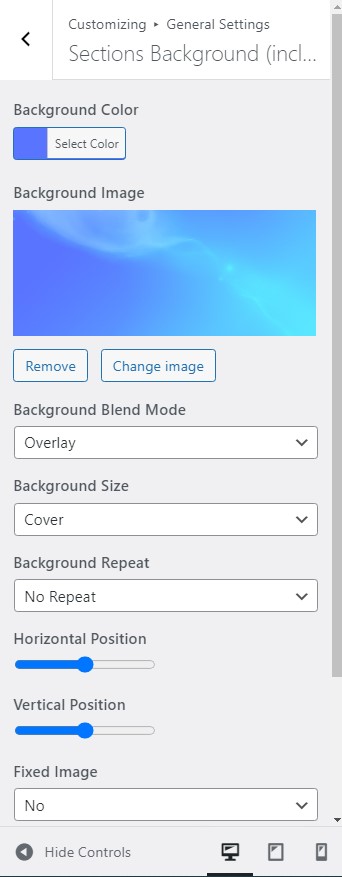
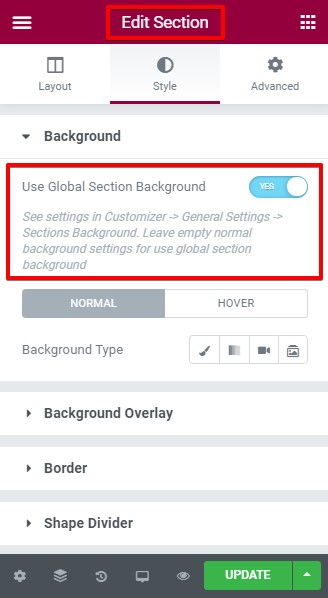
Also you can use this section background for any page section in elementor editor.
Header Settings
It's a settings for site header.
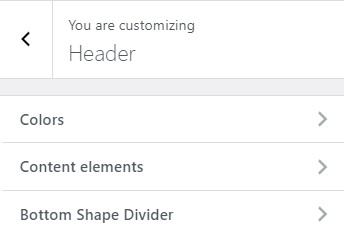
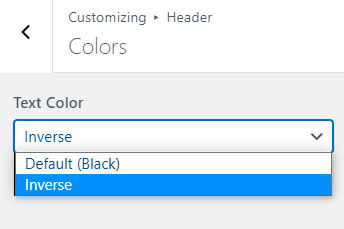
- Text Color - Here you can choose your site header text color (black or white)
- Header Elements
Header Content - Global header content ( Heading or Search )
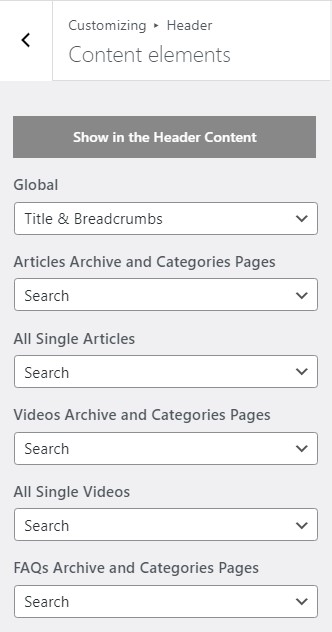
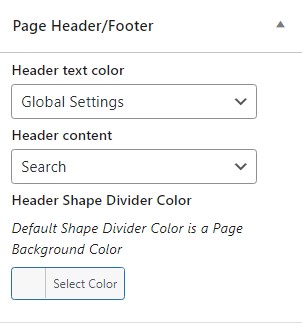
Also you can choose header content for each page in page settings
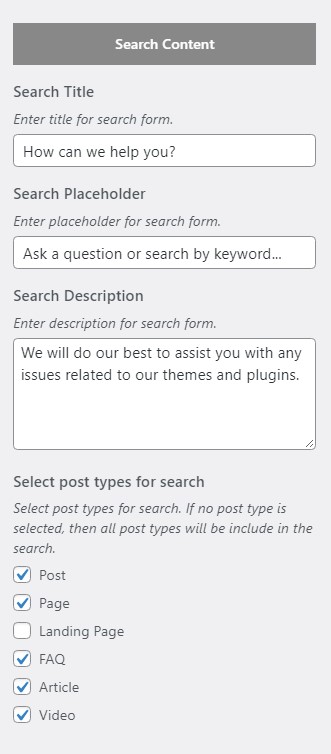
Search Content
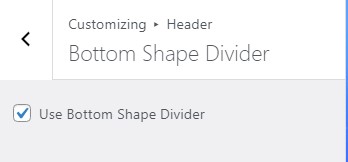
- Bottom Shape Divider - On/off.
Also you can choose header text color for each page in page settings
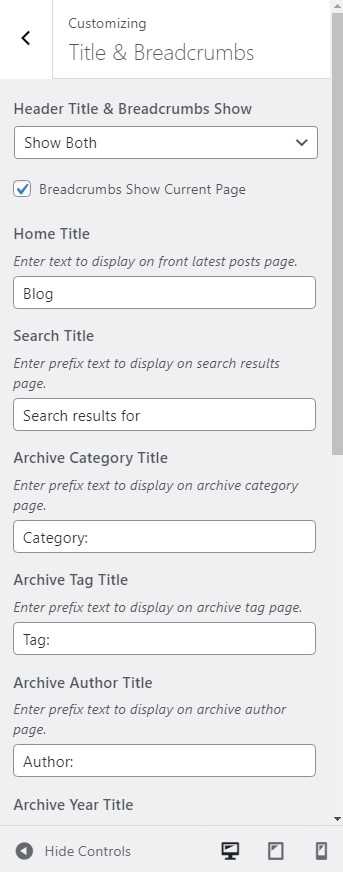
Title & Breadcrumbs Settings
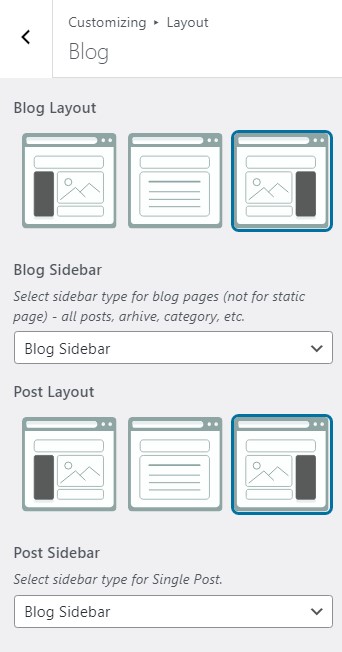
Blog Settings
It's a settings for site blog.
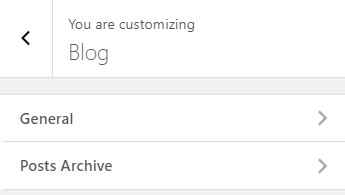
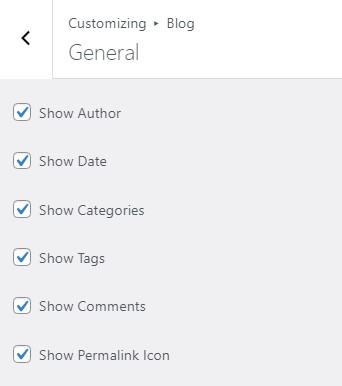
- General - General blog settings
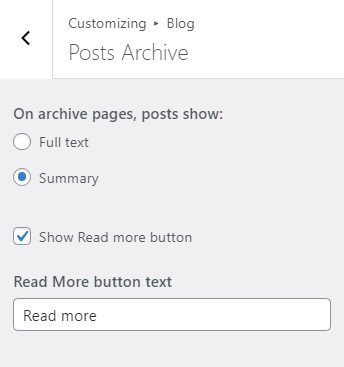
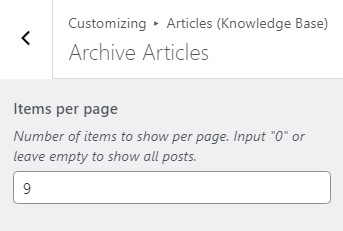
- Archive - Archive blog settings.
Layout Settings
Layot options for all post types registered in the theme:
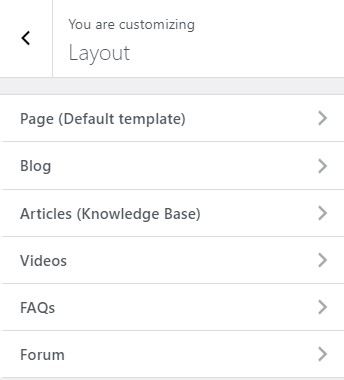
- Page
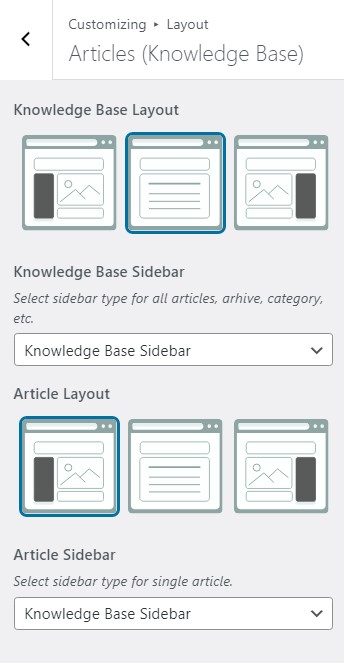
- Articles (Knowledge Base)
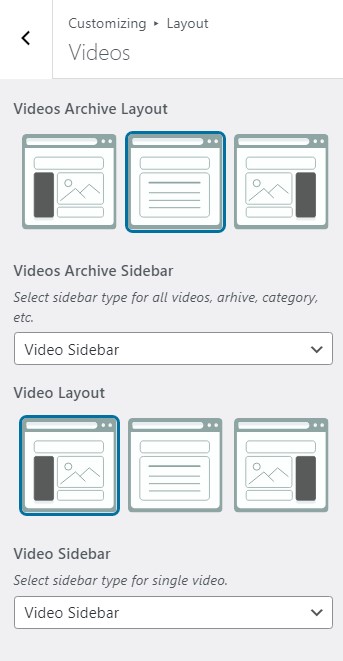
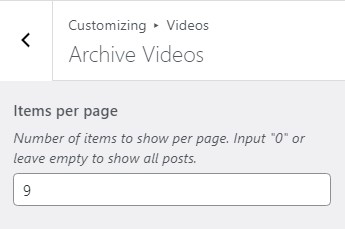
- Videos (Video Tutorials).
- Blog.
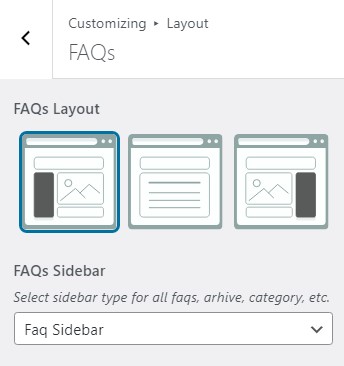
- FAQs
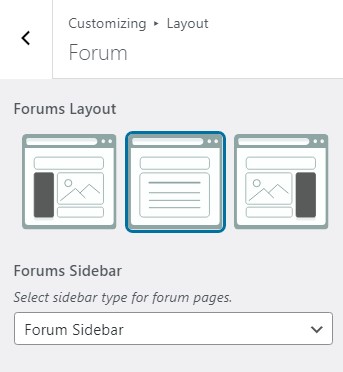
- bbPress Pages.
Articles ( Knowledge Base ) Settings
Videos ( Video Tutorials ) Settings
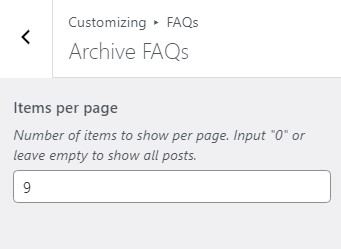
Faqs Settings
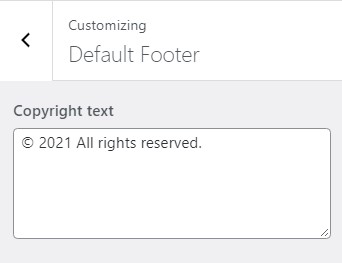
Footer Settings
Adding a Page
- Log in to your WordPress Administration Panel (Dashboard).
- Click the Pages tab
- Click the Add New tab
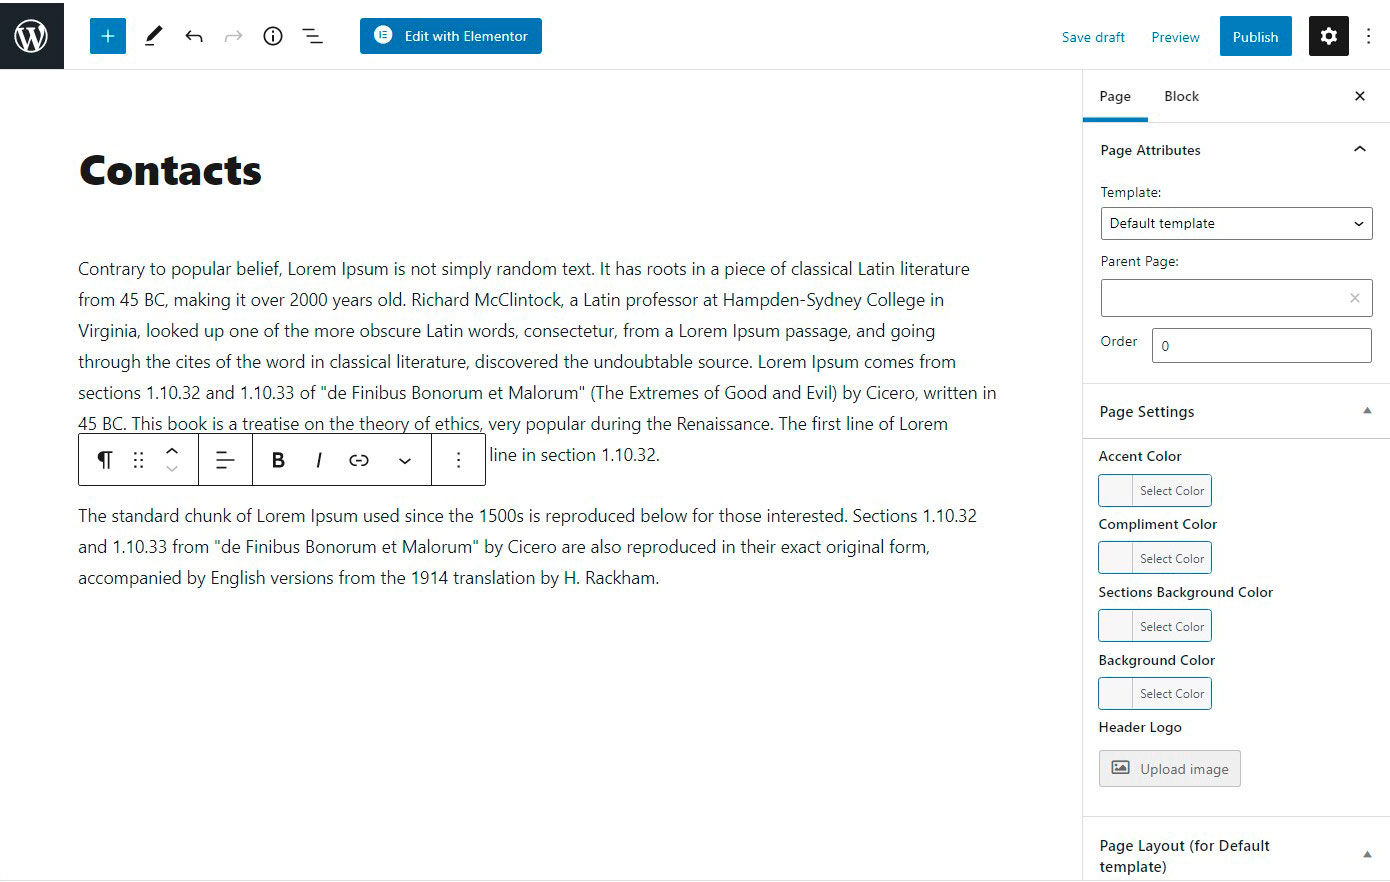
- Type in your page name, for example Contacts
- Post any content to the editor field (or edit page with Elementor).
- With that done, click the Publish button
Blog
Adding category blog post
- Log in to your WordPress Administration Panel (Dashboard).
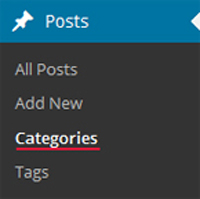
- Click the Post tab
- That done, click Categories for blog posts
- Type in the name and description of your new category
- With that done, click the Add New Category button
Review the following link for more info on adding categories: http://codex.wordpress.org/Manage_Categories_SubPanel
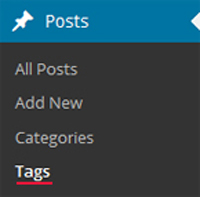
Adding tag blog post
- Log in to your WordPress Administration Panel (Dashboard).
- Click the Post tab
- That done, click Tags for blog posts
- Type in the name and description of your new tag
- With that done, click the Add New Tag button
Review the following link for more info on adding tags: https://wordpress.org/support/article/posts-tags-screen/
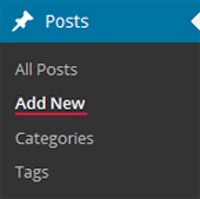
Adding a blog post
- Log in to your WordPress Administration Panel (Dashboard).
- Click the Post tab
- That done, click Add new for blog posts
- Type in your post content and select post Format (view below)
- With that done, click the Publish button
For more info about WordPress editor, please review the following link https://wordpress.org/support/article/wordpress-editor/
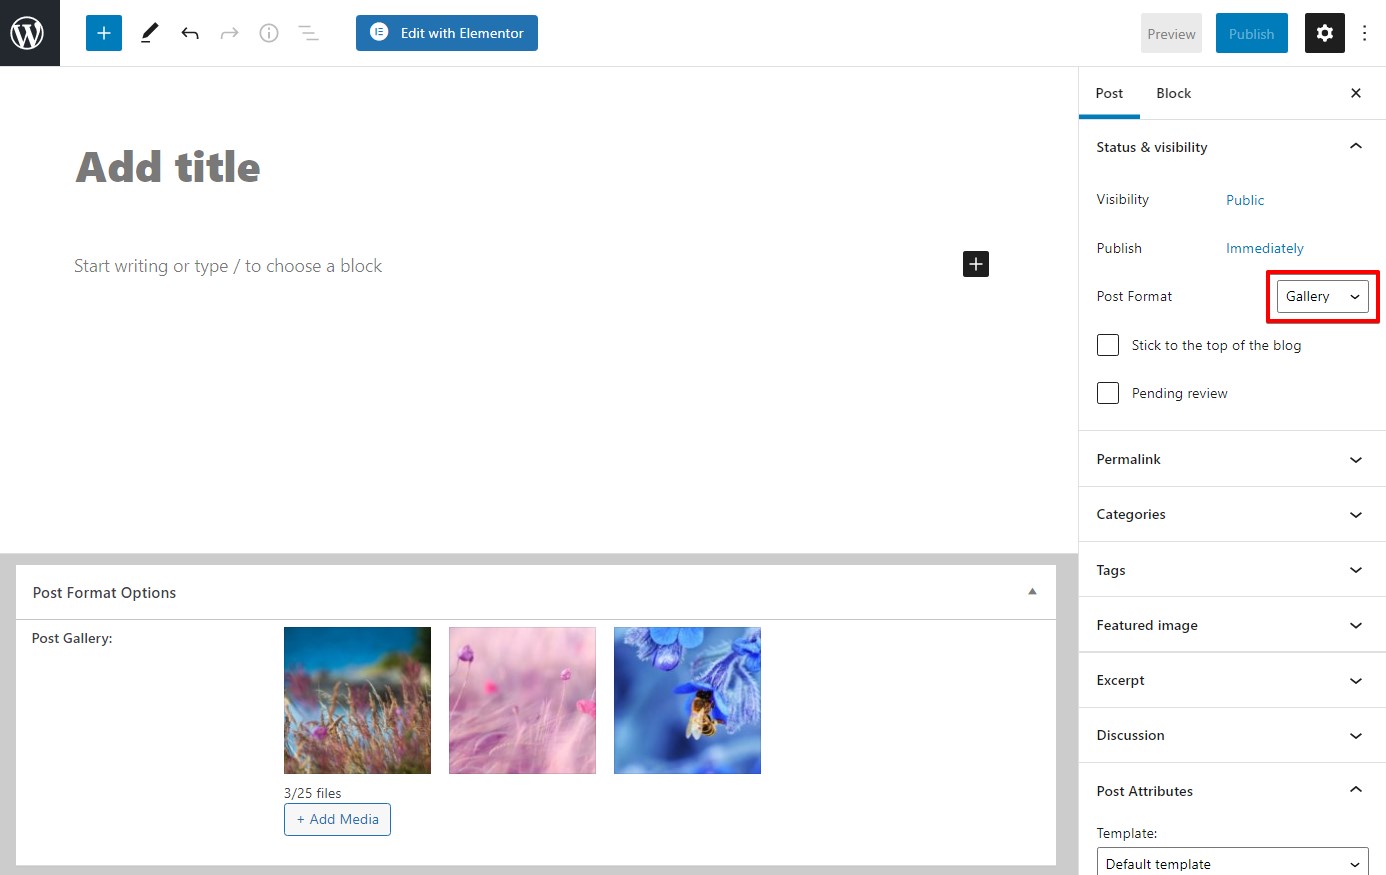
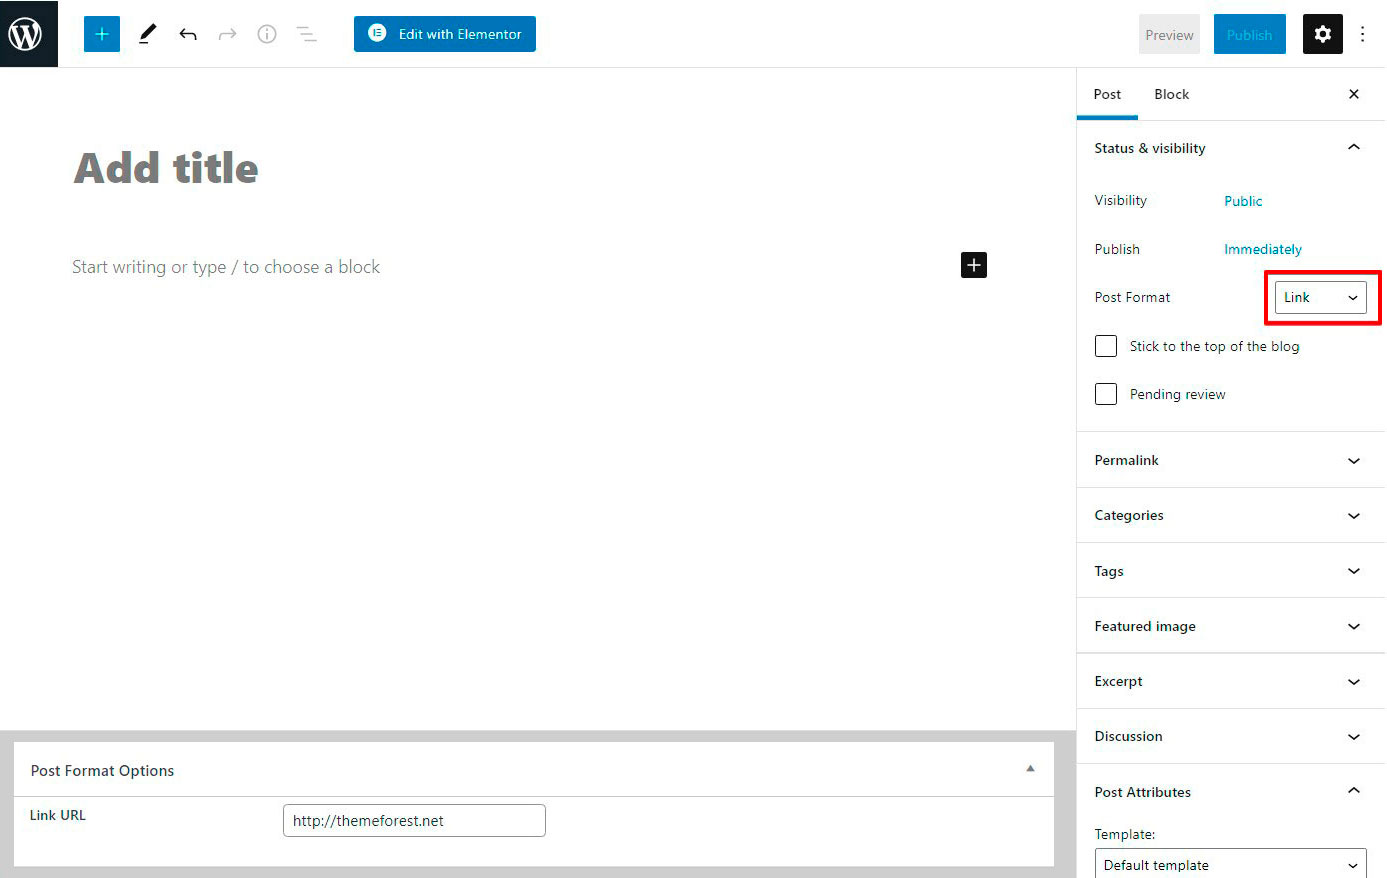
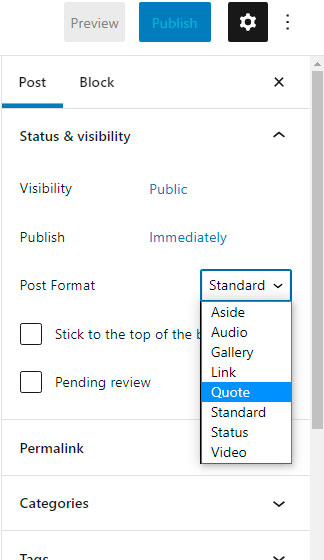
Post format
This theme supports 8 posts formats: Standard, Aside, Gallery, Link, Quote, Status, Video, Audio
Select post format before publish post
- Standart
This is standart blog post - Aside
This is the post without a title and Featured Image Gallery
This is the post with gallery
Link
Posts title is a link to another site
Quote
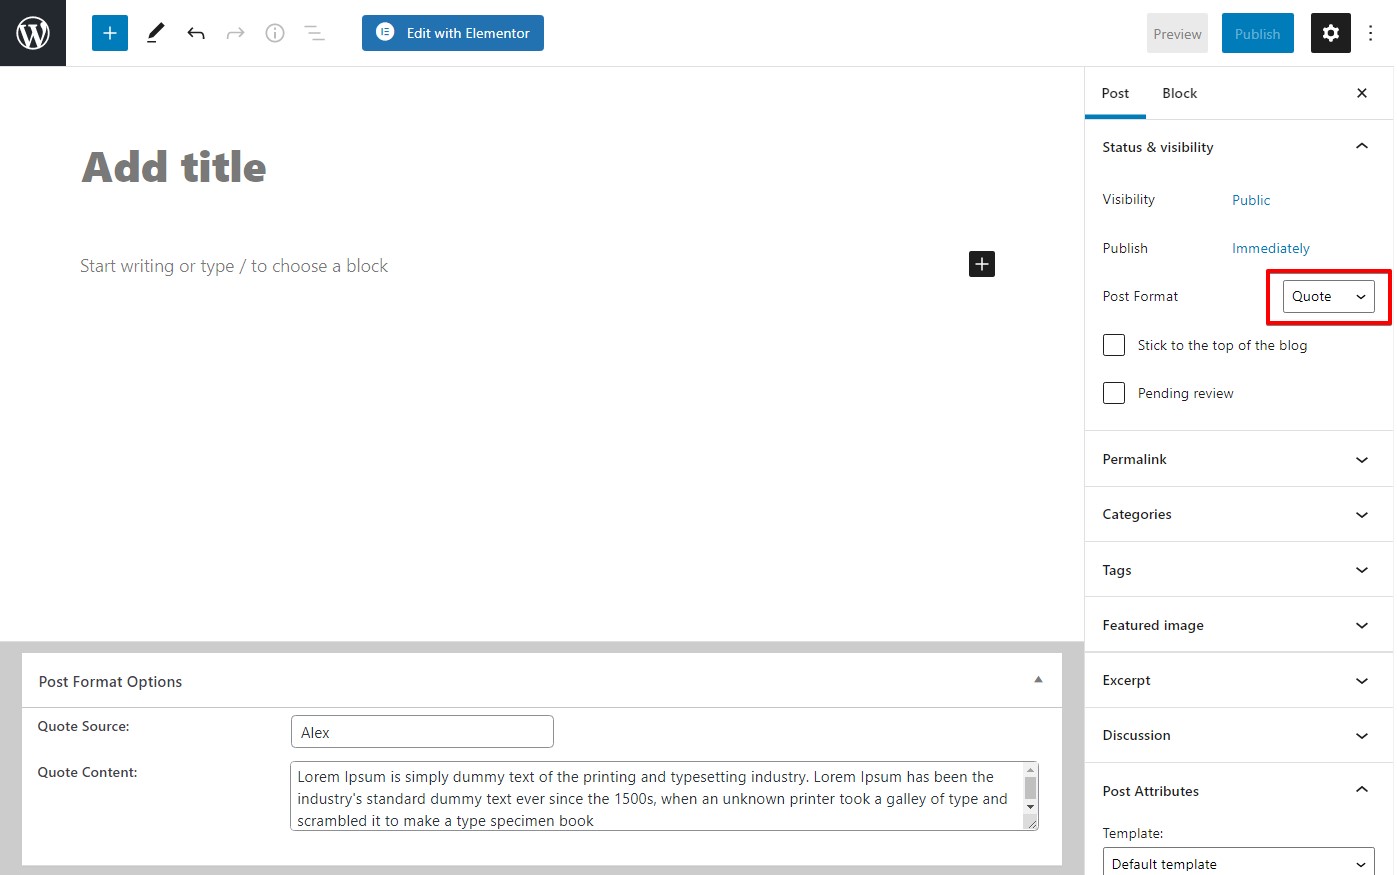
Status
Post with avatar (used avatar from gravatar.com), without a title.
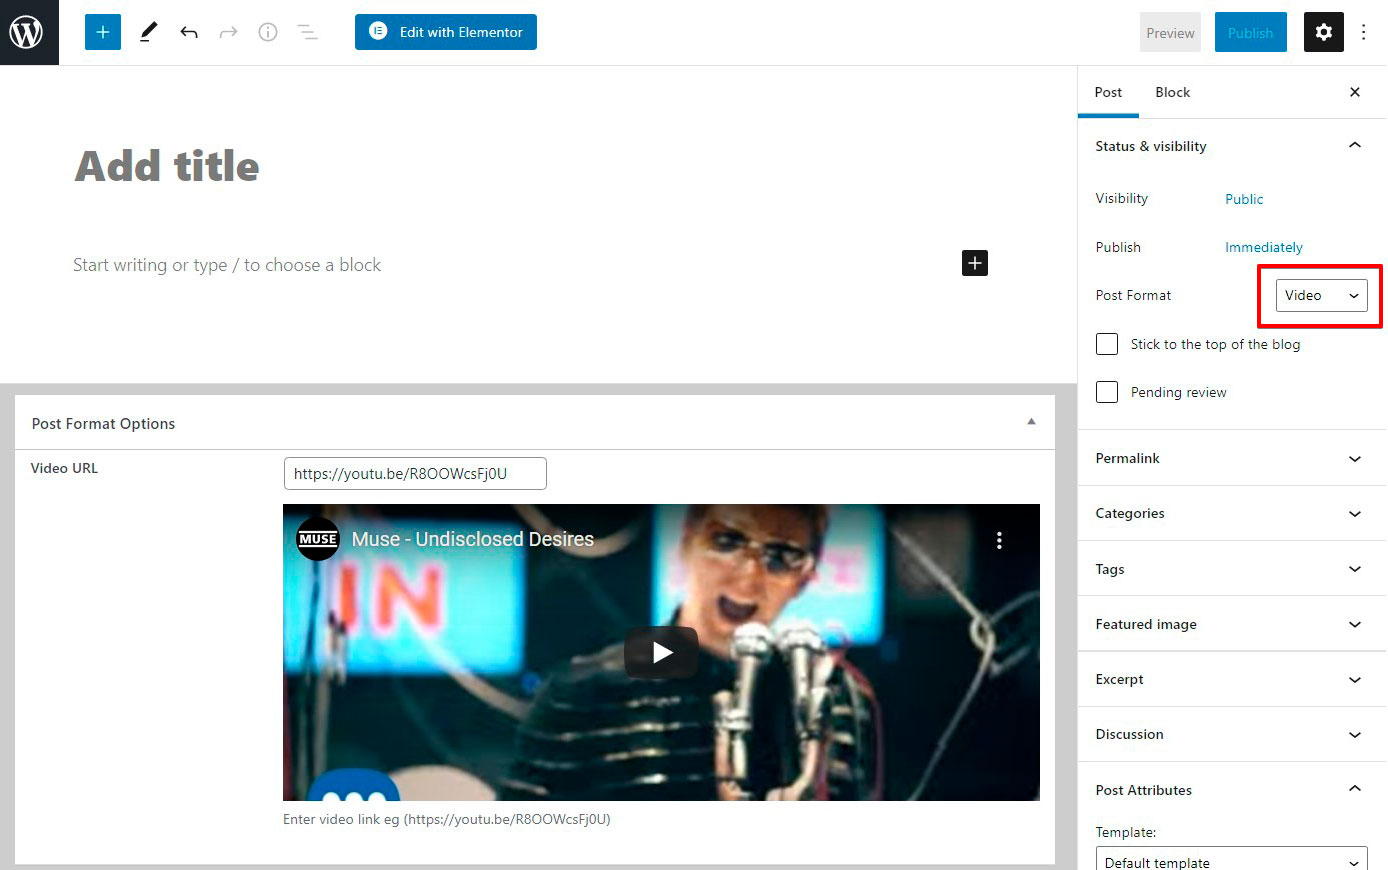
Video
Post with video file.
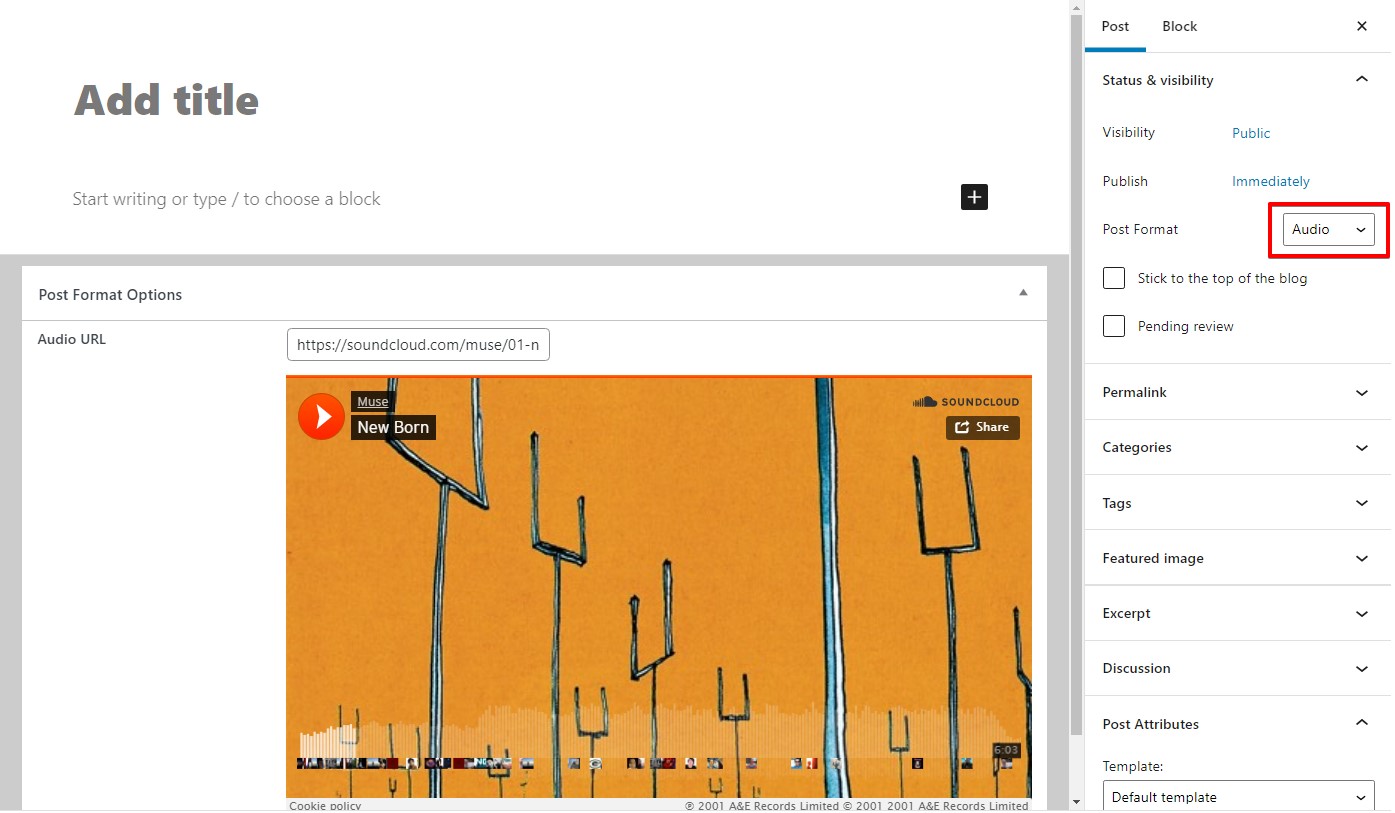
Audio
Post with audio file.


Google Map
To use Google map on the site, you must add a Google API key
Use custom elementor widget Advanced Google map to add map to page.

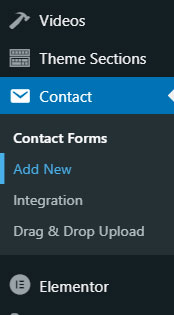
Contact Form 7
To add a new form go to Contact > Add new.
Code of Get in touch form from Demo site
				[text* a-name class:form-control "Your name*"]


				[email* a-email class:form-control "Your email*"]


				[tel a-phone class:form-control "Your phone"]


				[text a-subject class:form-control "Subject"]


		   [textarea* a-message class:form-control "Your message …"]
			*The data you enter will not be disclosed or used by third parties


		   [submit class:btn class:btn-accent "Submit a Message"]
Code of Request form from Demo site
[text* a-name class:form-control "Your name*"]
[email* a-email class:form-control "Your email*"]
[select a-subject class:form-control "Subject 1" "Subject 2" "Subject 3"]
[textarea* a-message class:form-control "Your message …"]
[submit class:btn class:btn-accent "Submit a Request"]
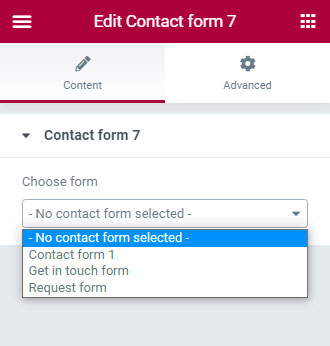
After adding new forms, when you use Elementor Page Builder while creating your pages, you will see a new widget in the list of widgets – the Contact Form 7.
Add this widget to your page and select form.
Tips and Tricks
Child Theme
A WordPress child theme is a theme that inherits the functionality of another theme, called the parent theme. Child theme allows you to modify, or add to the functionality of that parent theme. Instead of modifying the theme files directly, you can create a child theme and override within.
You will find child Theme version in the package you downloaded from Themeforest /theme/arcelia-child.zip.
More information about Wordpress child themes can be found on Wordpress Codex.
FAQs
Updates
Thank you for your purchase!
Dear buyers! If you like our theme and our support, please rate it!